


FSC FCOC47059 . FSC is dedicated to the promotion of responsible forest management
worldwide. By selecting this product, you help take care of the woorld's forests

UL-certified for indoor drying environments not directly exposed to excessive moisture or water;
Use in the United States and Canada.

Certified to Dry ETL electrical standard: suitable for use indoors in dry locations not directly exposed to excessive moisture and water
Use in the United States

CE-certified drying equipment compliant with electrical standards: Suitable for indoor drying environments not directly exposed to excessive moisture or water;
Tested for use in Europe, the UK, and other regions.


The support center has answers to questions you may have. You can also contact customer service in the support center if you can't find what you're looking for.
Support Center >
At houlte, we are committed to delivering quality, style, and great value to our customers. Our goal is to simplify your shopping experience by providing competitive prices and exceptional service.

If an item you purchased from houlte goes on sale on our website within 30 days of your purchase date, you may request a price match. This policy ensures you always receive the best value when shopping with us.
Houlte reserves the right to interpret and adjust the terms of the Price Match Policy as necessary.
Houlte has partnered with Taskrabbit to make your everyday life at home easier by connecting you with flexible and affordable ways to get your to-do’s done including furniture assembly and mounting.

1. Purchase your furniture at Houlte.
2. Check your order Dispatched and Delivered email and click the
Houlte link. You will be redirected to Taskrabbit's landing page.
3. Post your task on Taskrabbit platform.
4. Pick the best tasker to assemble your furniture.
Houlte has partnered with Taskrabbit to make your everyday life at home easier by connecting you with flexible and affordable ways to get your to-do’s done including furniture assembly and mounting.
Taskrabbit Assembly is available in most metro areas in the US. The availability of Taskers varies based on demand. When placing an order on Taskrabbit, you will need to enter your zip code. If the service is not supported in your area, you will not be able to place an order.
You can book assembly for your Houlte furniture as early as the next day after your delivery, and up to 14 days in advance, giving you flexibility to choose a time that works best for you.

Ready to use out of the box; minimal installation may be required (e.g., handles).

Main structure is pre-built; minor components require attachment (e.g., legs).

Assembly required; multiple parts must be assembled before use.
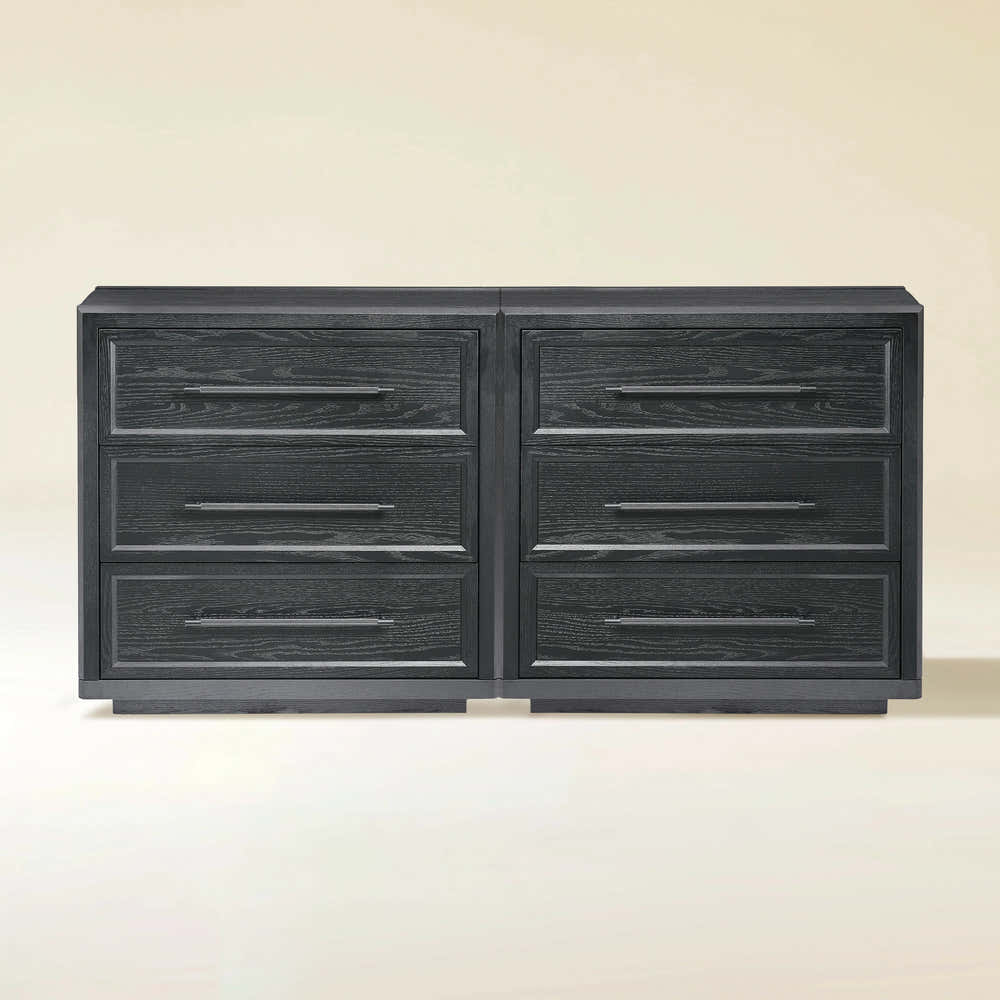
Our furniture is built with a combination of core boards, real wood veneers, and selected solid wood parts. Each material is used for a different purpose—structure, surface appearance, or visible strength—so the final piece feels balanced in performance, finish, and cost.
Core boards form the internal foundation of the furniture. They provide structure, stability, and efficiency across large surfaces and cabinet bodies.

Stable structural board

Smooth and consistent

Functional internal board
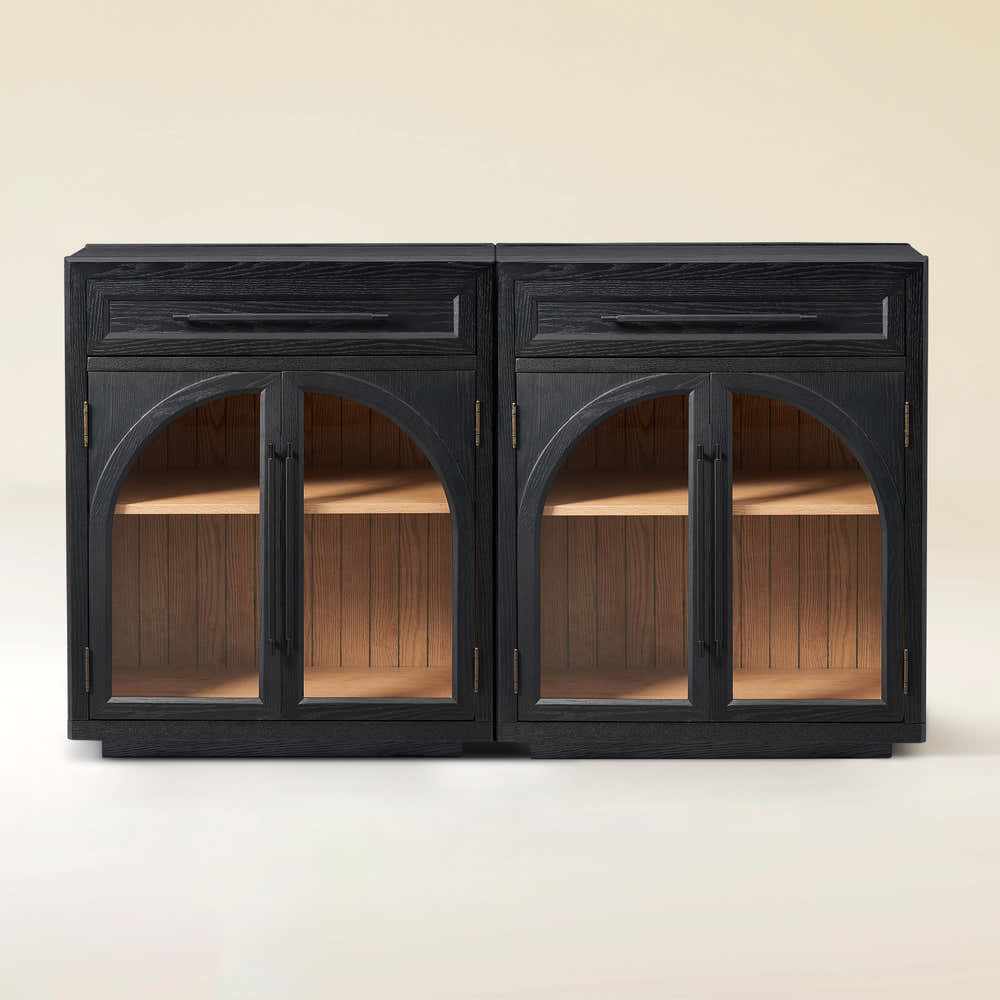
Selected solid wood parts are used where visible strength, tactile quality, and structural integrity matter most—such as legs, frames, trim, and exposed support details.

Durable and classic

Light and versatile

Premium and elevated
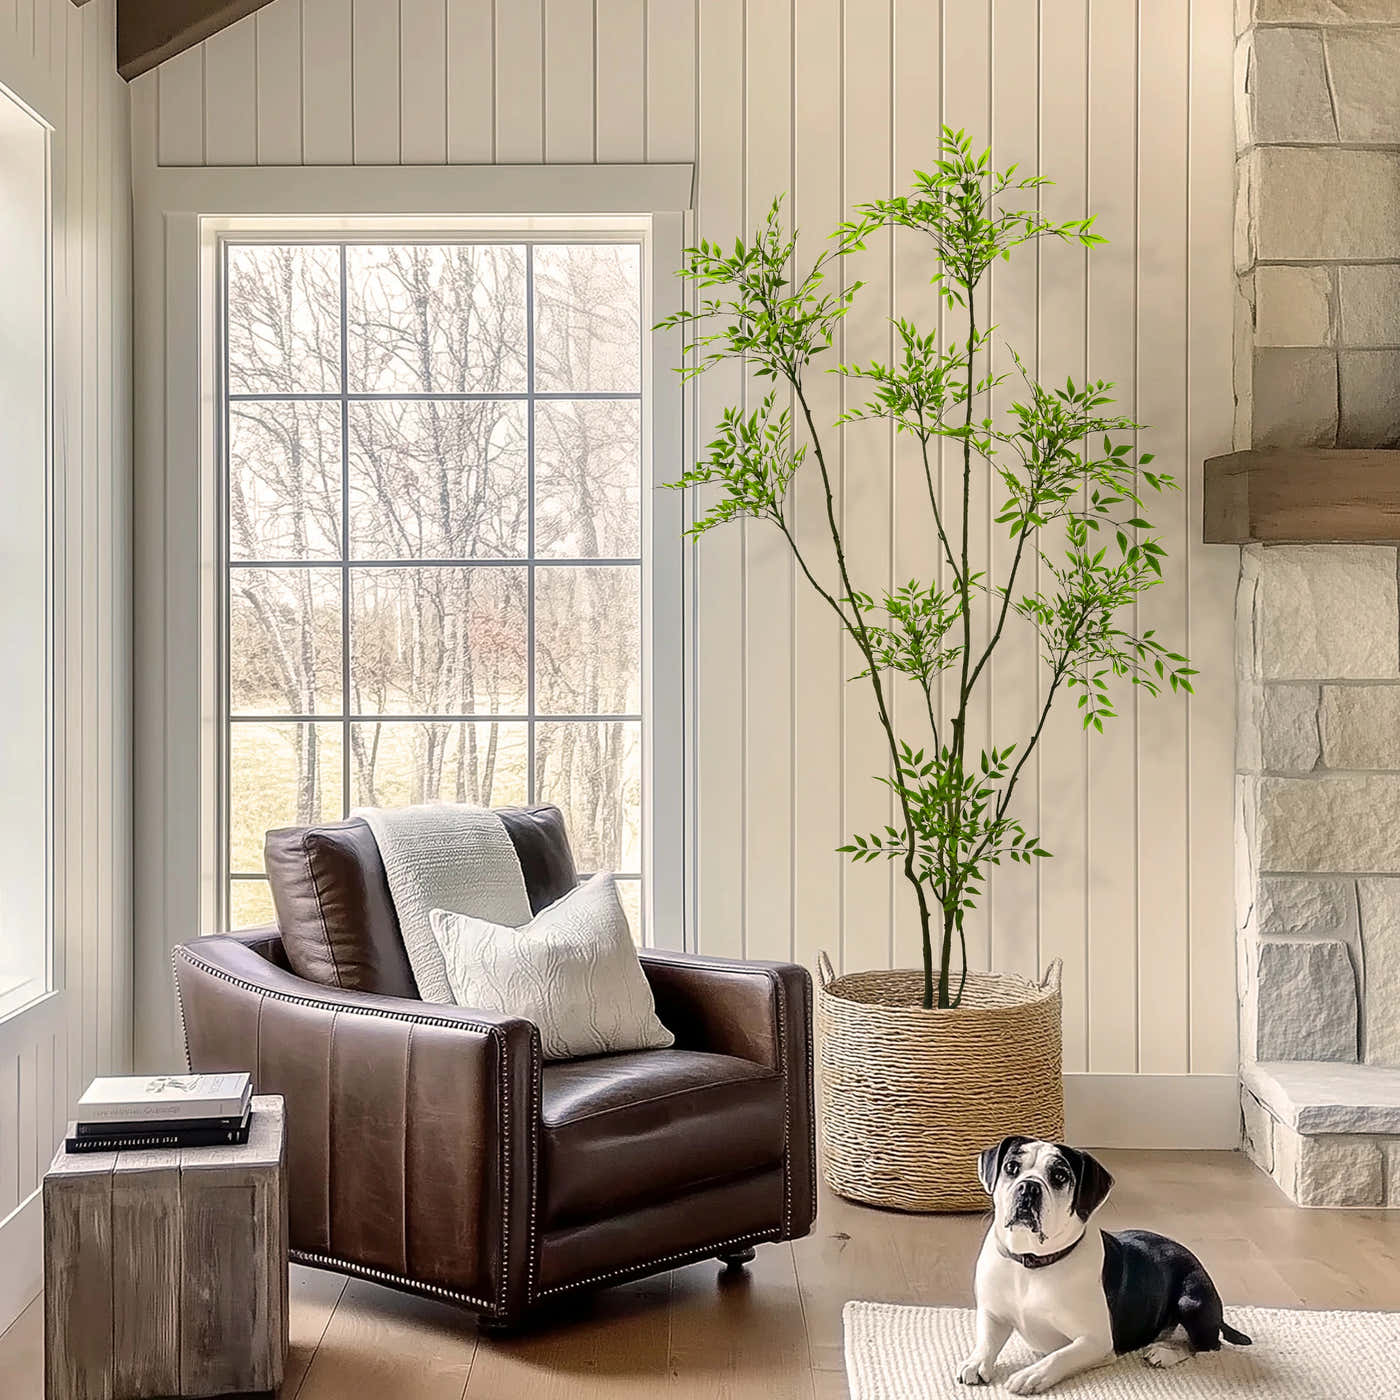
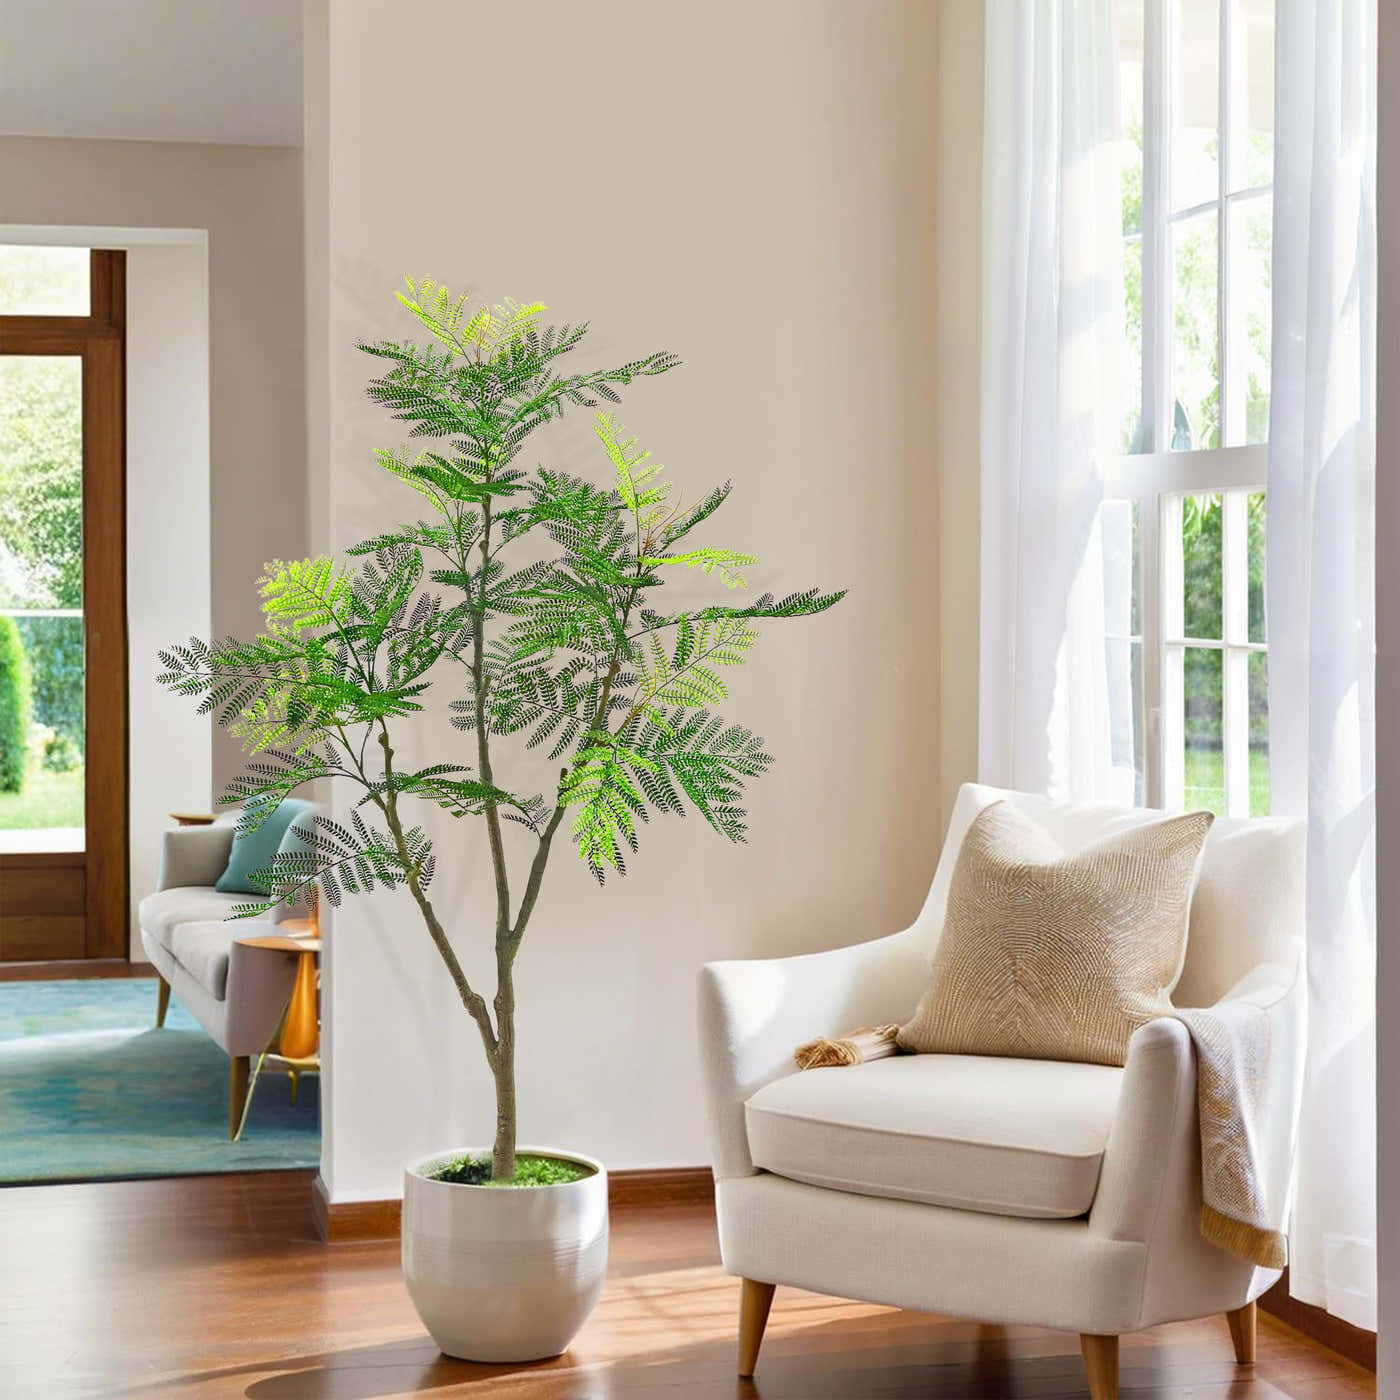
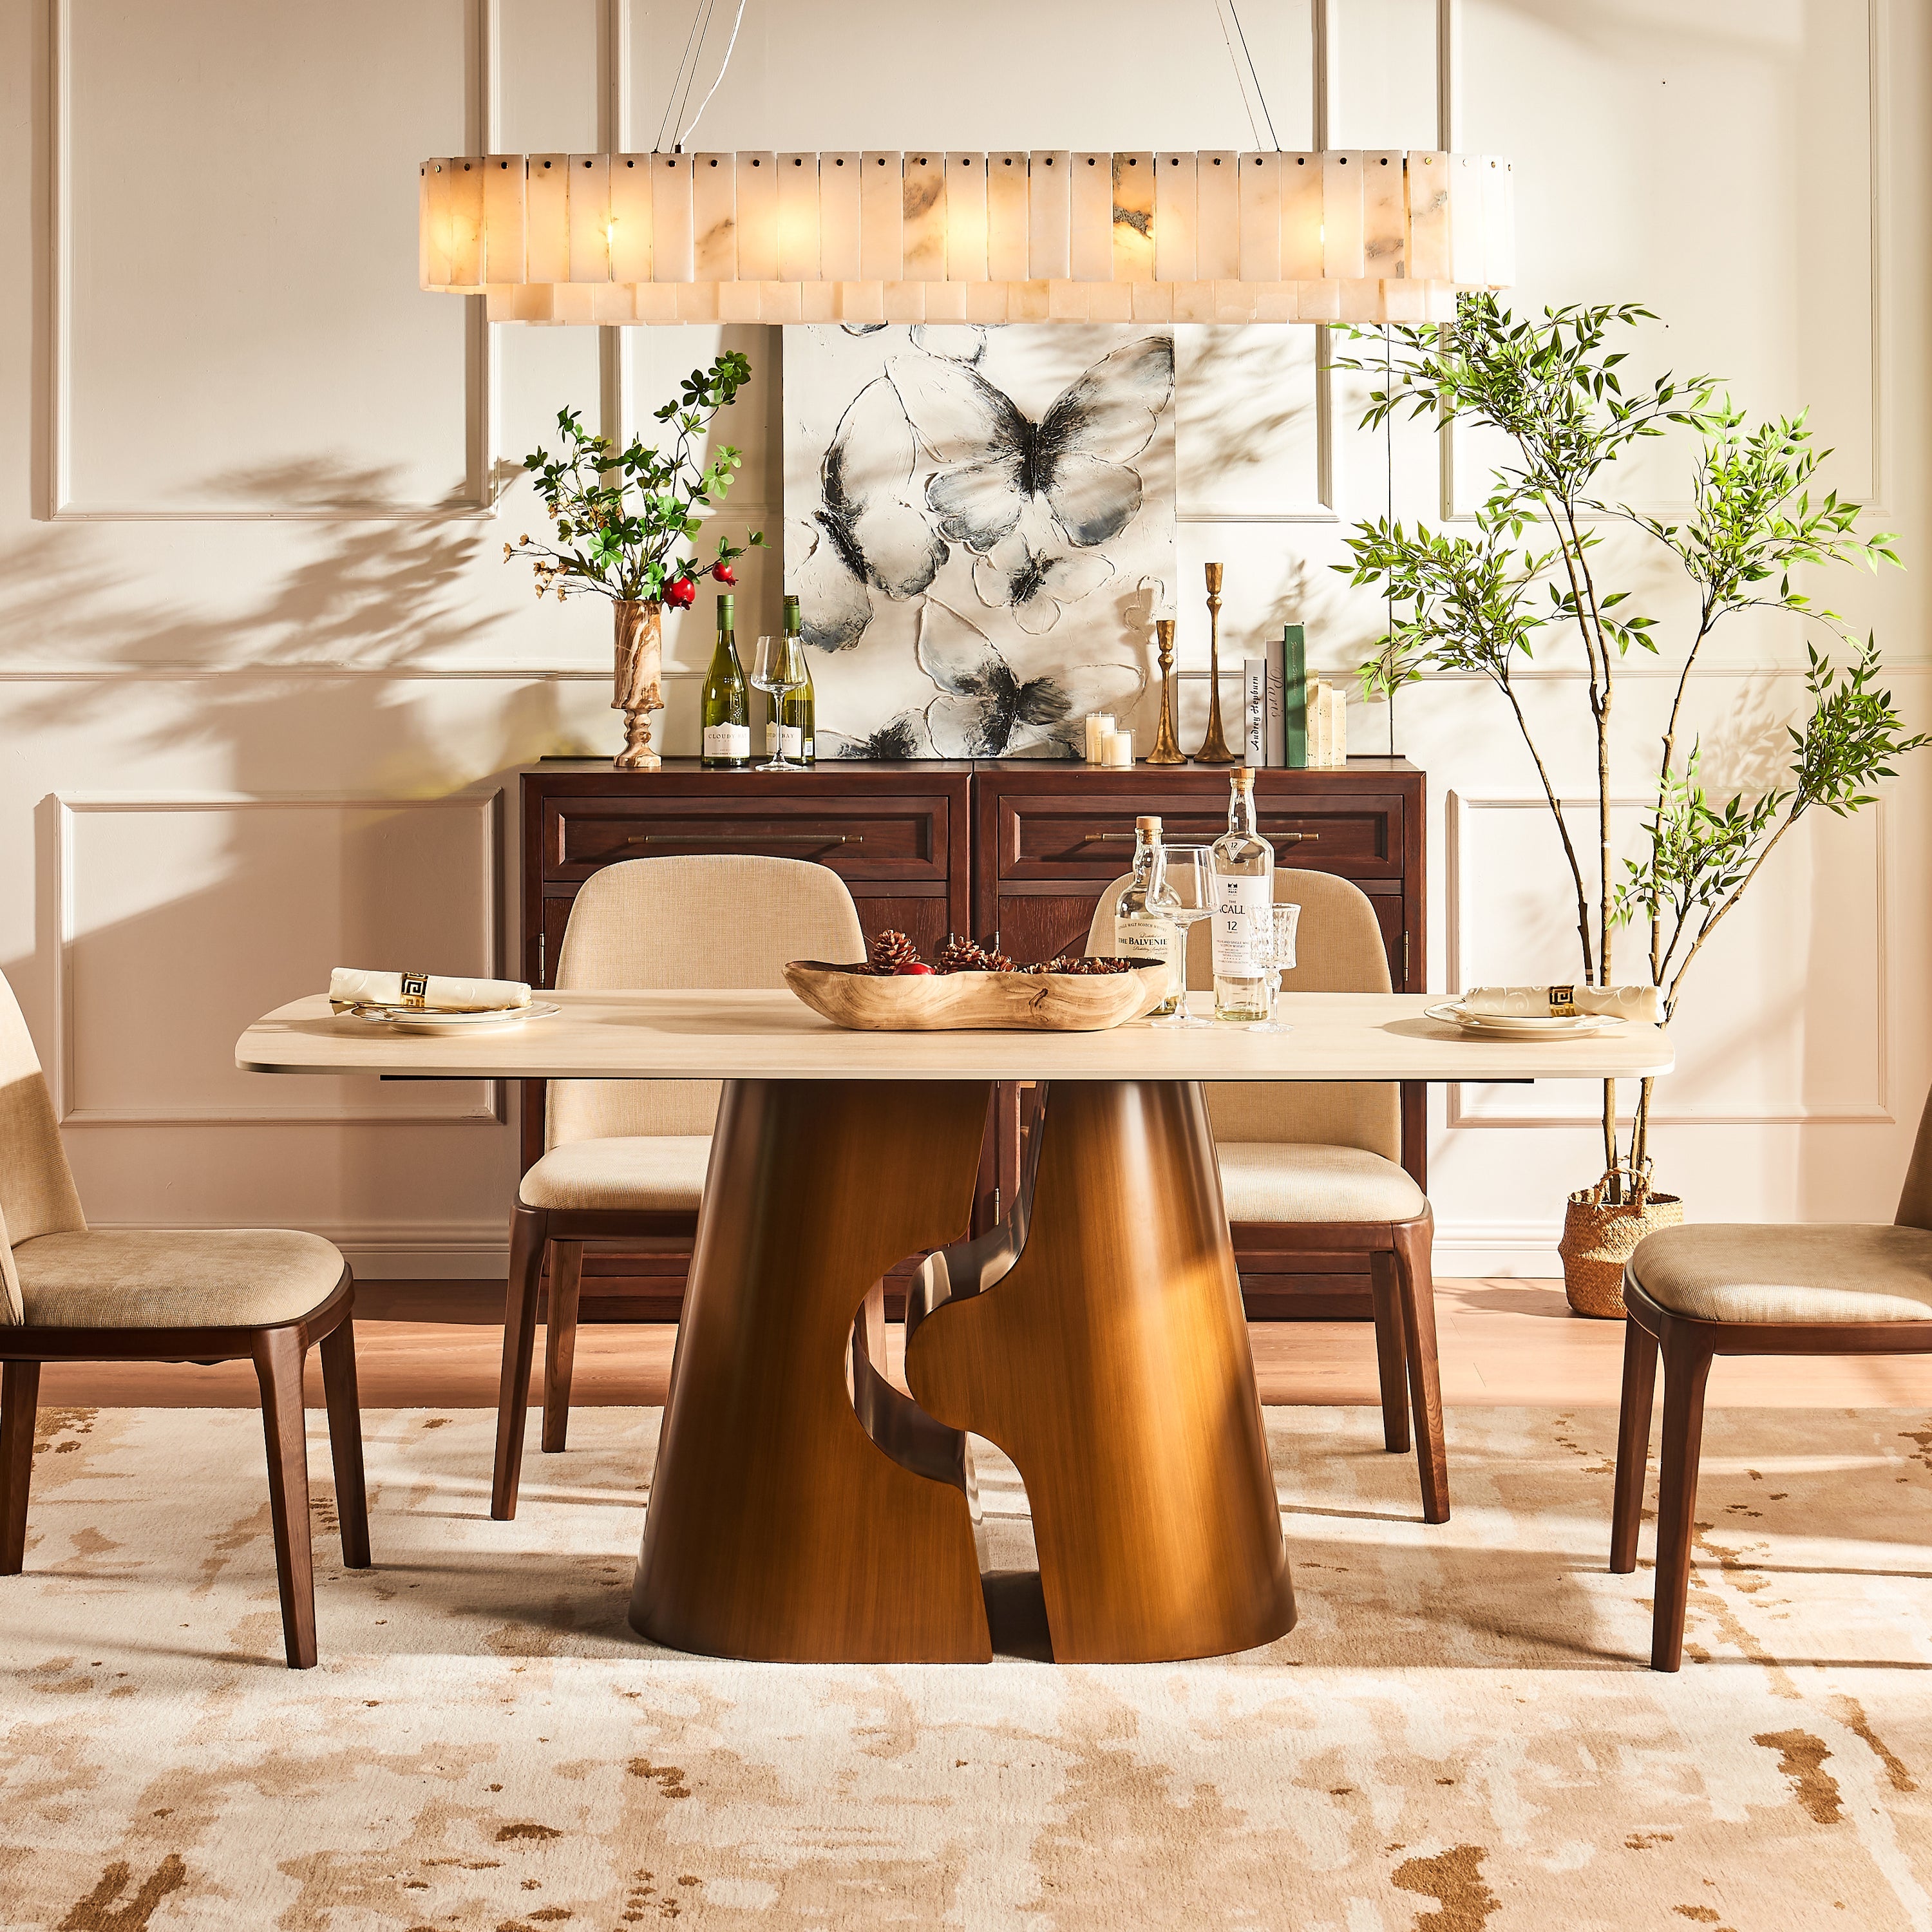
The secret to a full, realistic artificial tree isn’t “more leaves” — it’s shape, layering, and negative space. Most faux trees look sparse because the branches stay folded inward from shipping or storage. A few smart moves can transform the silhouette in minutes.
The 60-second shortcut
Loosen the branches → build layers (front / middle / back) → widen the canopy → hide the trunk from the front → finish with lighting + a premium base.
Tip: Give your tree 5–10 minutes of shaping time. That’s usually all it takes to go from “flat” to “designer-styled.”
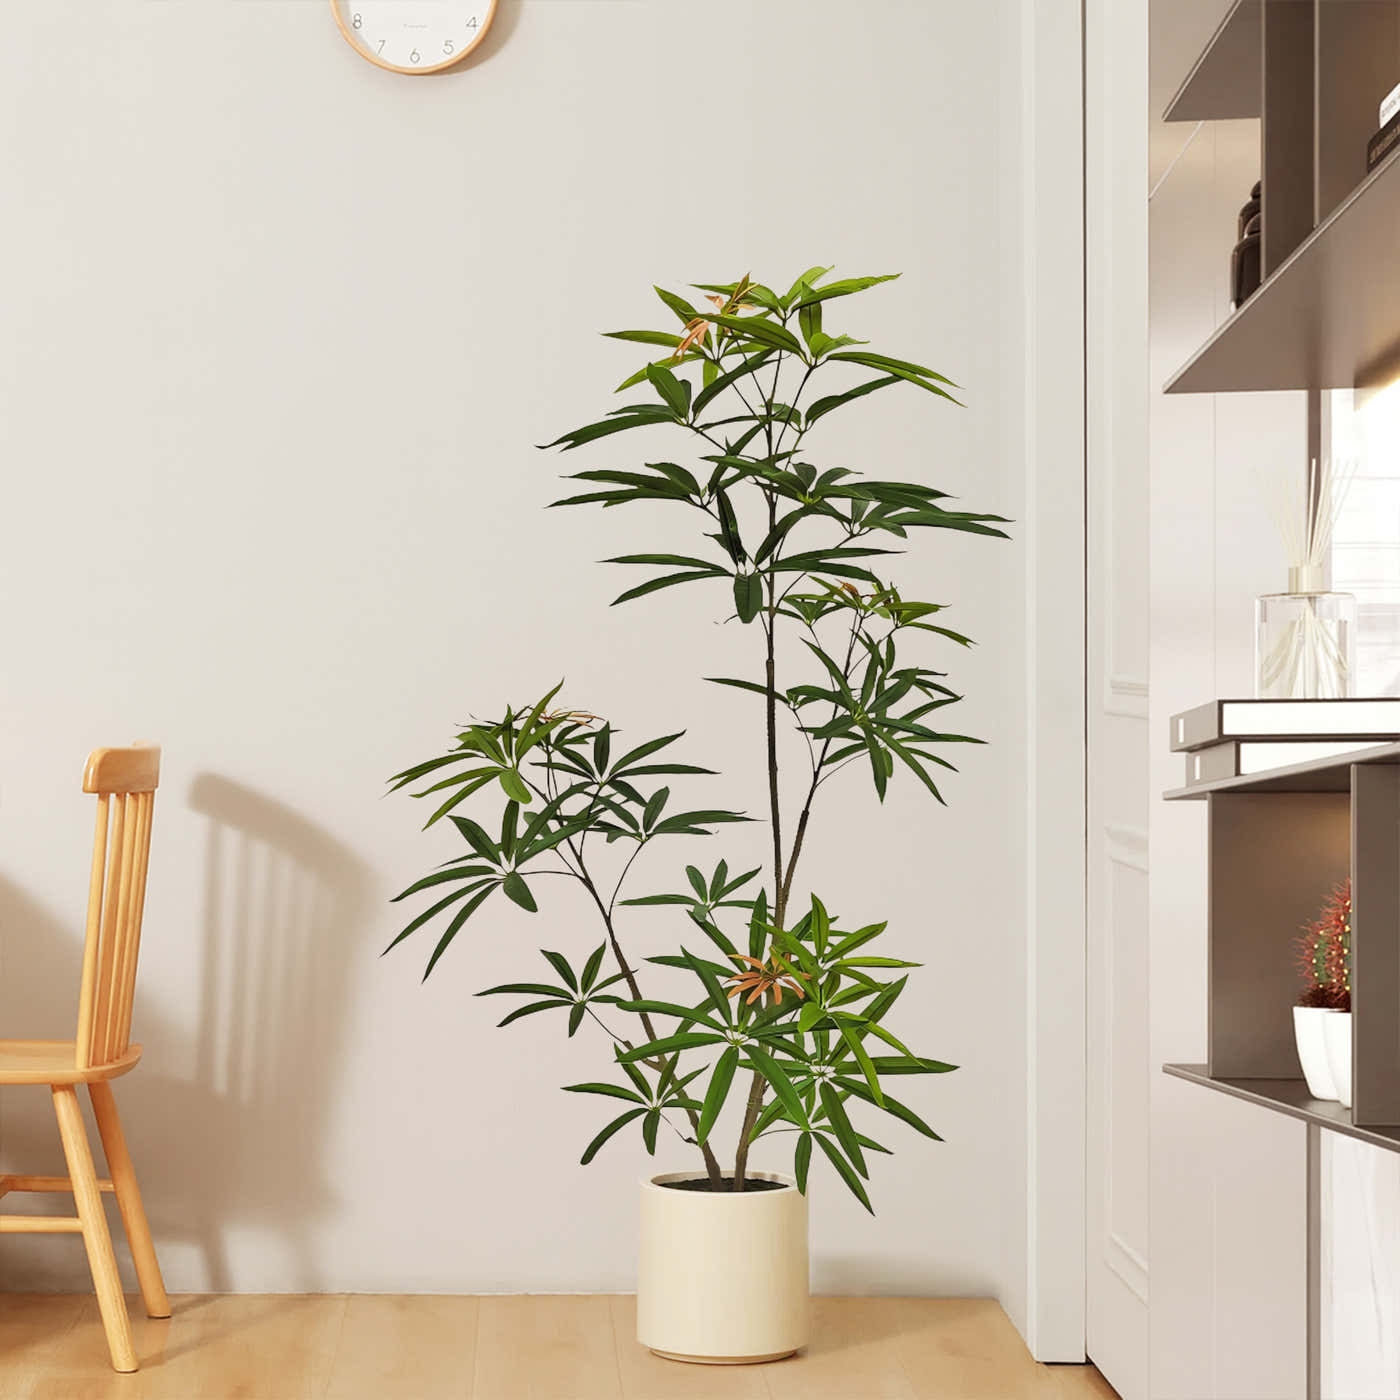
Most artificial trees arrive looking thinner than expected because the branches are folded inward for shipping. When everything points straight up (or straight out in the same direction), you see gaps that look “empty.”
But fullness isn’t about packing every inch with leaves. Real trees have air pockets. The difference is that real trees have layered depth—some leaves forward, some back, and the canopy widens naturally as it rises.
Your goal:
Create a silhouette that feels wide, layered, and uneven—not perfectly symmetrical. That’s what reads as “full” to the eye.
If you only have 3 minutes, do these steps in order. You’ll get the biggest “before vs after” difference fast.
Loosen every branch joint first
Don’t fluff leaves yet. Start by gently opening the main branch structure so it stops looking “folded.”
Widen the canopy (not just outward—slightly forward)
Pull a few key branches forward so the front view looks dense. That’s where “fullness” matters most.
Stagger the tips (avoid a perfect outline)
Make the top slightly uneven and avoid a “flat dome.” Real trees aren’t perfectly balanced.
After these three steps, your tree will already look fuller. Next, you’ll lock in realism with layering.

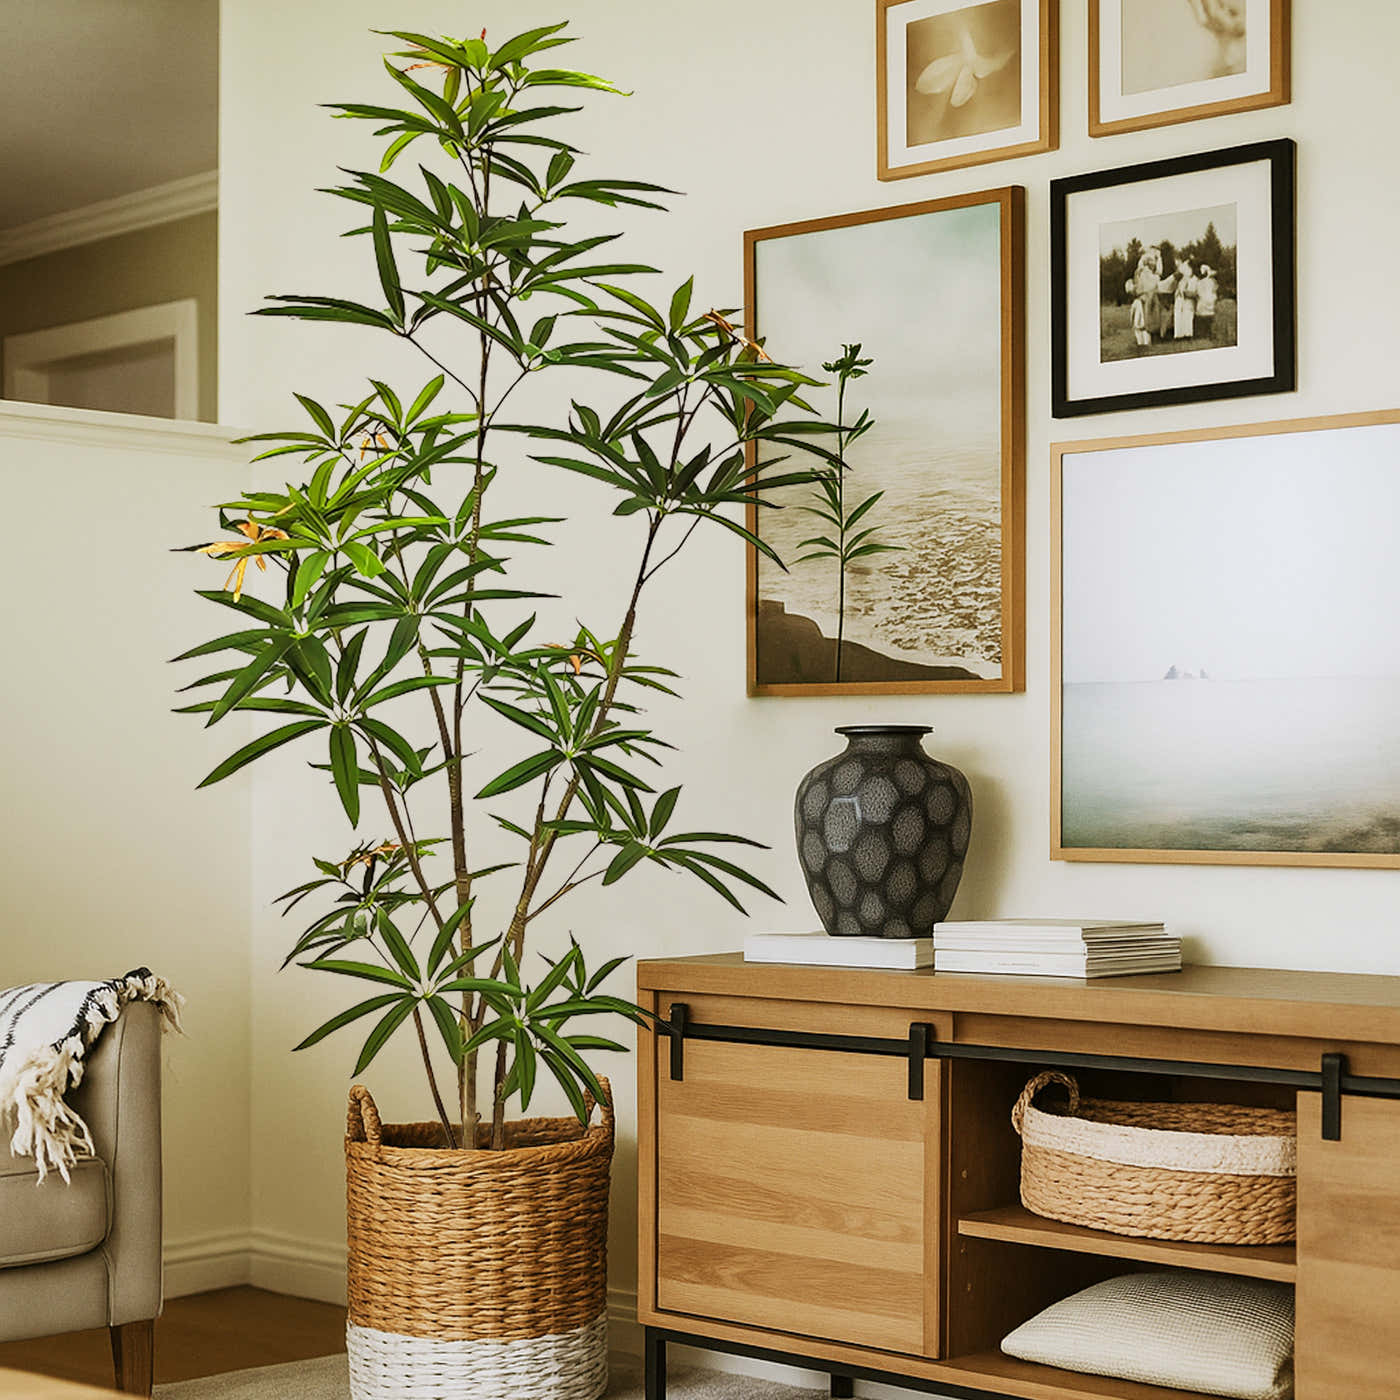
This is the difference between “I own an artificial tree” and “this looks like a styled interior.” Layering creates depth—so the tree looks full from the front and realistic from the side.
Most people only pull branches outward to the sides. That makes the tree wide, but still see-through from the front. You want a few branches gently angled toward you so the front view looks lush.
The “walk-by test”
Stand 6–8 feet away (the distance you’ll usually see it). If you still notice gaps from the main viewing angle, adjust the front layer—not the entire tree.
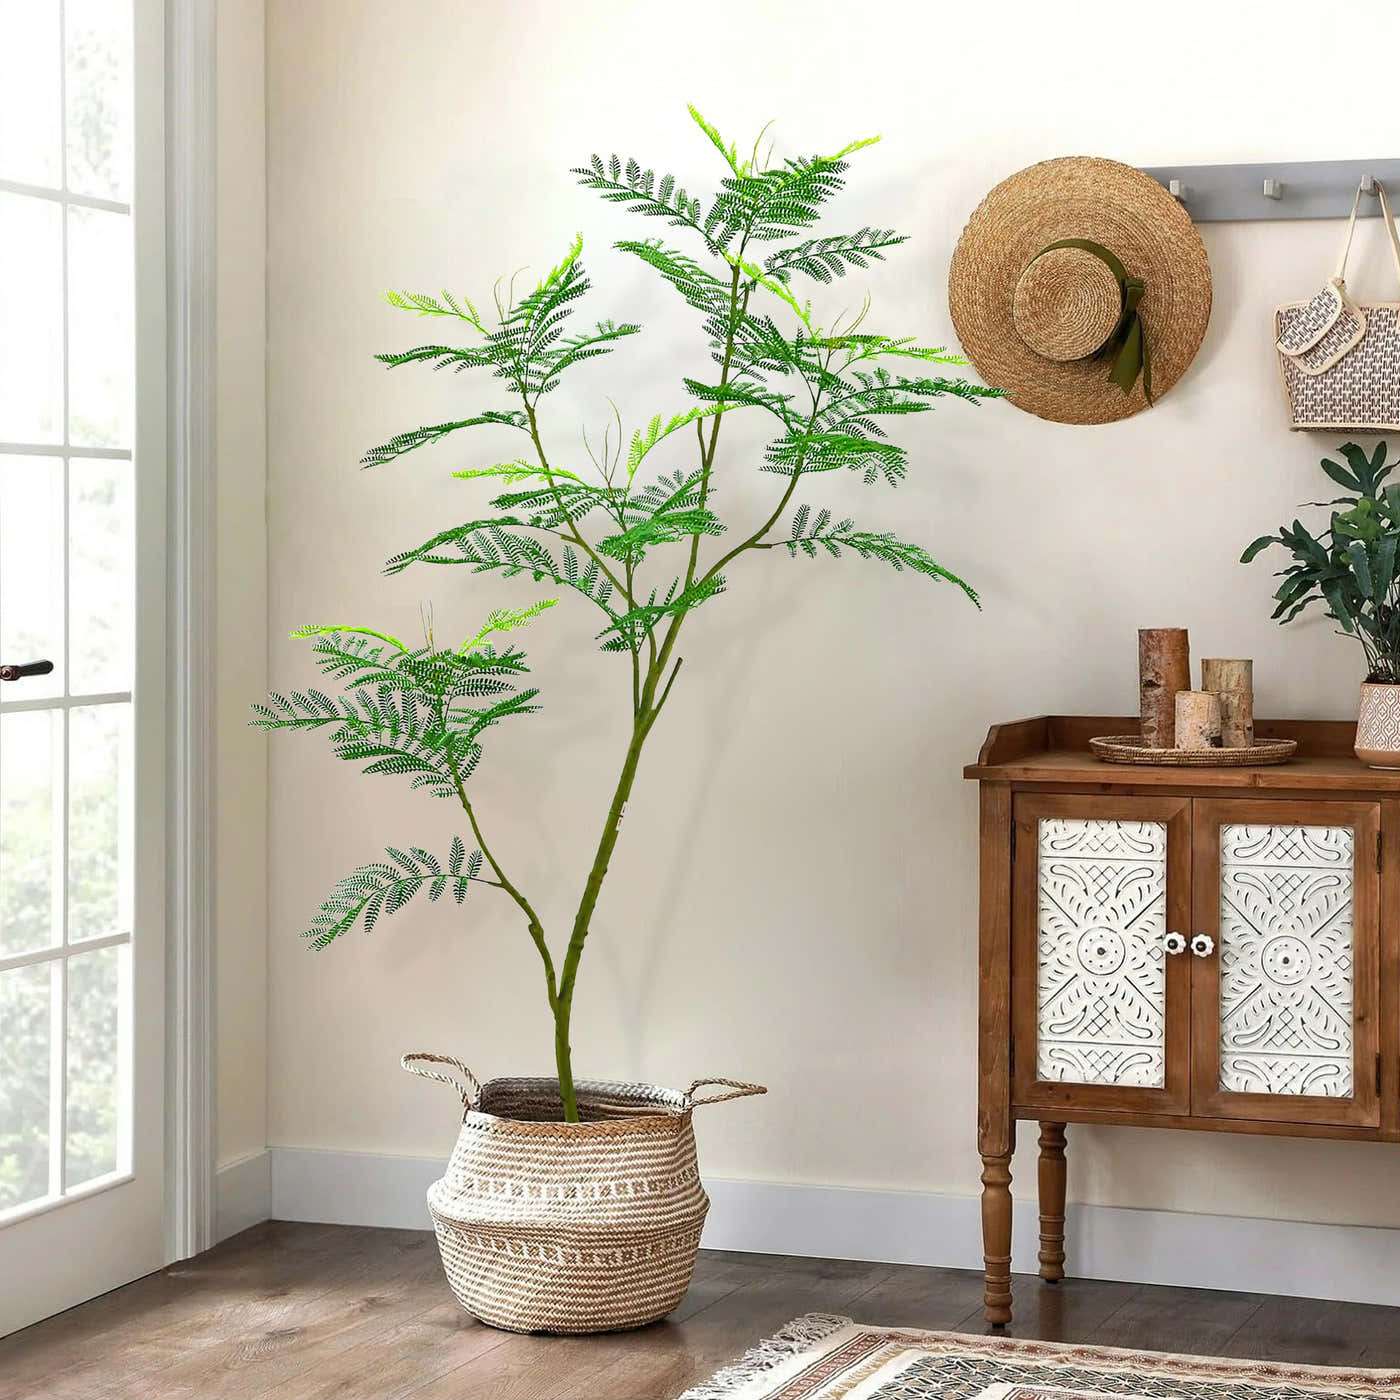
Real trees aren’t perfectly symmetrical, and their canopies don’t form a smooth circle. If your faux tree looks “too perfect,” it reads as artificial—even if the leaf detail is excellent.
Make the top slightly uneven
Stagger the top tips by 1–2 inches. A small variation creates a natural, relaxed outline.
Avoid a “perfect cone”
If your tree looks like a smooth triangle from the side, pull a few mid branches outward to create a softer curve.
Give it breathing room
A little negative space between branch clusters makes the tree look fuller and more premium (yes, both).
The goal isn’t “maximum density.” The goal is a silhouette that feels layered and believable.

When the trunk is visible straight-on, the tree can look sparse even if the canopy is wide. This is a simple fix: you don’t need to cover the trunk completely—just soften the front view.
Done right, the tree reads as fuller from the front but still airy and realistic from the side.
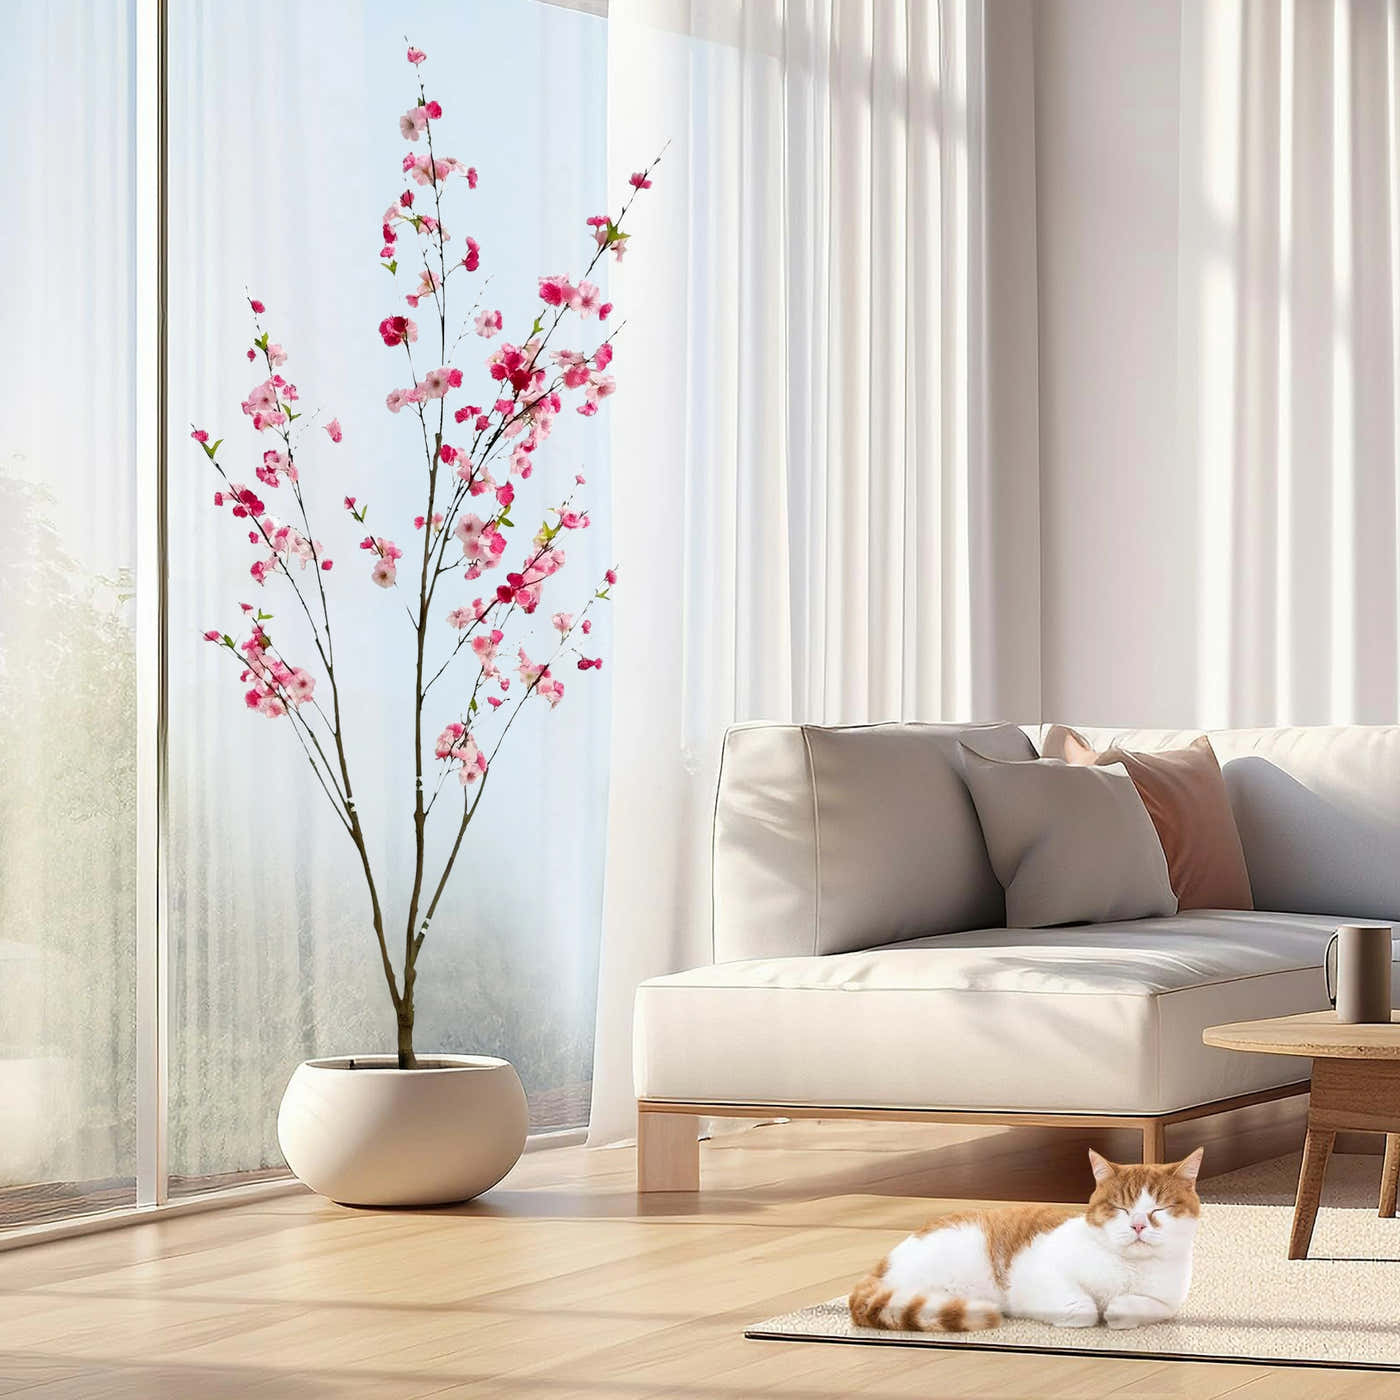
Even a beautifully shaped artificial tree can look “unfinished” if the base looks lightweight. The fastest premium upgrade is to ground the bottom.
Use a textured basket or planter cover
Texture adds warmth and hides the inner pot. This alone makes the tree feel “styled,” not temporary.
Add visual weight at the bottom
A heavier outer planter makes the tree look more stable and intentional, especially for tall heights.
Finish the surface
Decorative moss or clean filler at the top of the pot helps the base look finished and realistic.
If you want your tree to look “expensive,” keep the base simple and clean. A clutter-free base makes the canopy feel even fuller by contrast.
Lighting changes how “full” a tree appears because it creates highlights and shadows. That depth is what makes foliage look dimensional instead of flat.
One small change—moving the tree 1–2 feet closer to soft natural light—often makes it look fuller without touching a single branch.
If your artificial tree still looks sparse after fluffing, one of these issues is usually the culprit:
Making everything symmetrical
A perfectly even outline looks unnatural. Add slight unevenness to the top and sides.
Only pushing branches sideways
Fullness is a front-view problem. Pull select branches slightly forward to fill the main viewing angle.
Overstuffing the canopy
Too dense can look flat. Keep airy spacing so highlights and shadows create depth.
Ignoring the base
A light-looking base makes the whole piece look less premium. Ground it with texture and weight.
Fix these four mistakes and most faux trees will look dramatically fuller with minimal effort.
Different heights need slightly different focus points. Use these quick guidelines:
4ft artificial trees
Prioritize front fullness. Pull 2–3 branches forward and keep the top uneven so it looks natural in small corners.
5ft artificial trees
Widen the middle zone. This height looks best when the canopy has a gentle curve rather than a narrow cone.
6ft artificial trees
Layer depth. Create strong back/middle/front separation so it looks lush from multiple angles.
7ft & tall artificial trees
Focus on stability + silhouette. Ground the base and shape the top canopy unevenly for a premium “built-in” look.
Want a tree that looks full with minimal shaping?
Explore HOULTE artificial trees designed with balanced silhouettes and realistic layering—so your space looks styled instantly.
Shop HOULTE TreesQuick answers to the most common questions people ask when their faux tree looks thin.
Start with a tree that has a balanced silhouette and realistic layering. HOULTE artificial trees are designed to look premium in real homes—so your space feels finished instantly.


Share:
How to Store an Artificial Tree (Without Flattening It)
How to Style a Side Table in the Living Room (12 Designer Ideas + Mistakes to Avoid)